Initial setup
Welcome to AdminParking. We will guide you step by step to configure the system and start managing your parking operation effectively.
When creating a new account at AdminParking.com, you can register with a Google account or create an account manually and validate it by email.
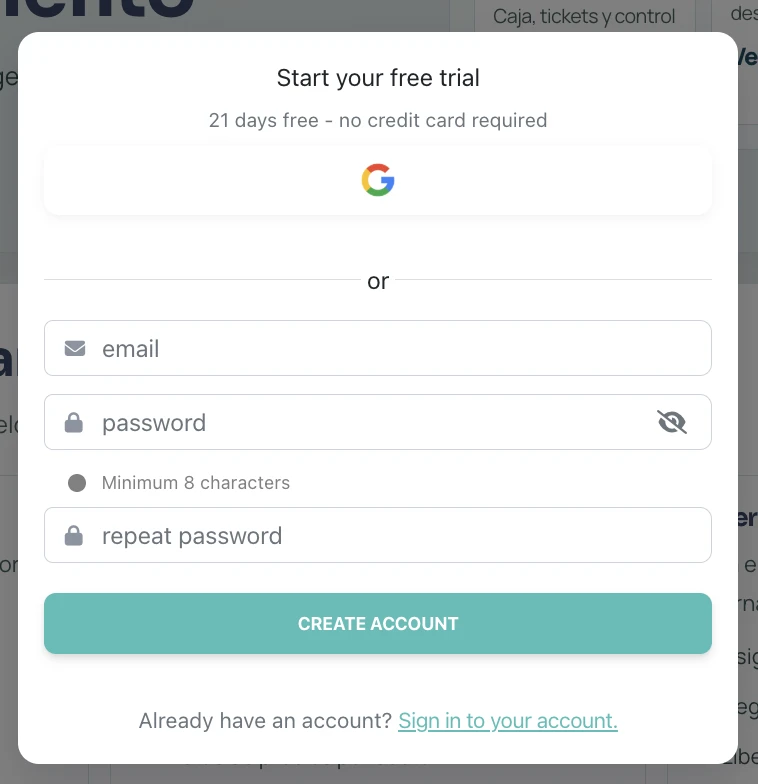
Once the account has been created, the system setup begins. During this process, you will be able to:
- Create the main user: Parking administrator.
- Configure the first garage: Including basic rates.
- Create the cashier user: This user will manage daily parking operations (without access to system configuration).
A trial plan is also activated with all features available without restrictions, so you can test the system and make sure it fits your needs.
Step 0 - Welcome
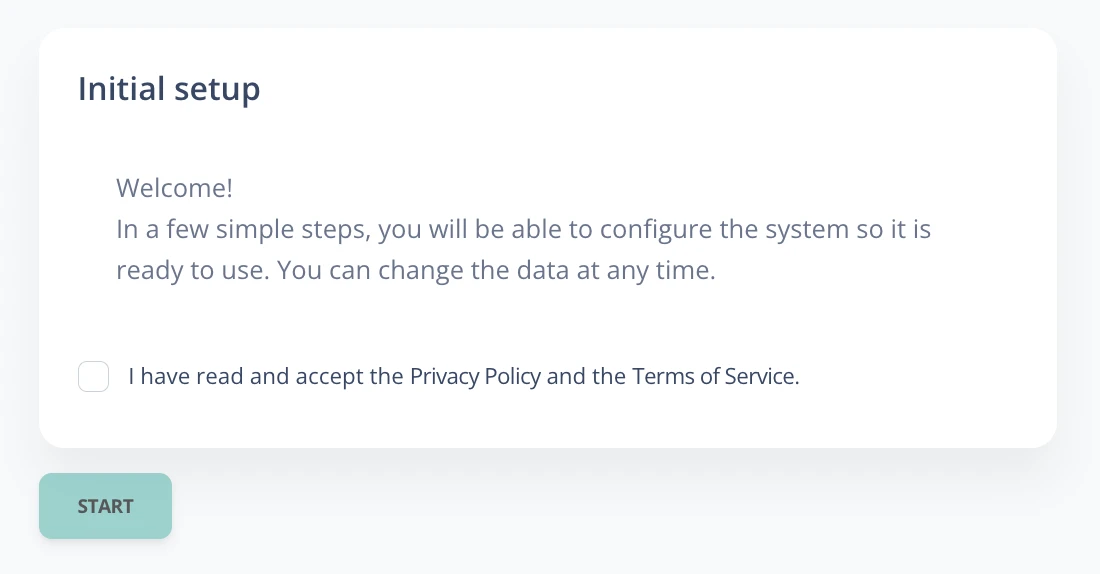
When you sign in, a welcome screen will be displayed. To begin, you must accept the privacy terms and terms of service.
Step 1 - Create the first garage
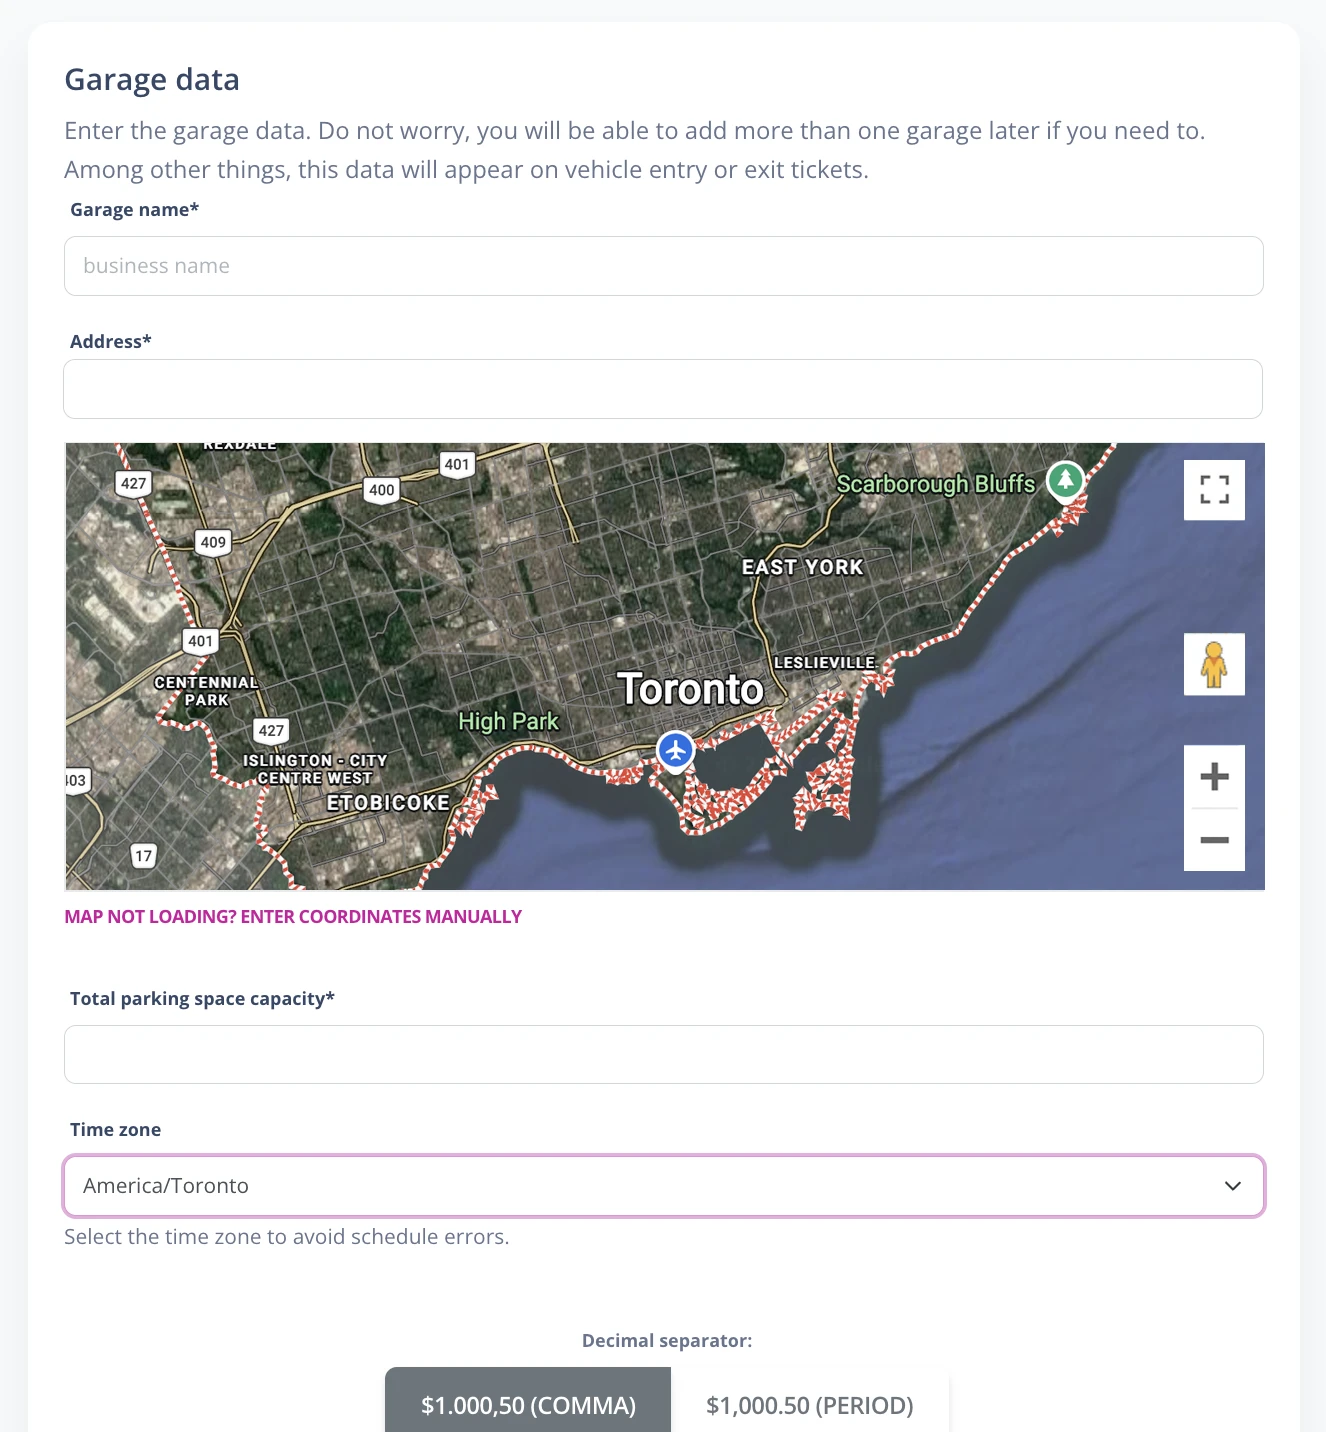
1. Basic information: Enter the garage name and address using the Google Maps geolocation tool.
2. Additional configuration: Depending on the garage location, the additional configuration switch will be enabled automatically.
- If the switch is enabled, number formatting (cash register opening/closing, income, payments) will use a comma to separate thousands and a period for decimals.
- If it is disabled, the format will use a period for thousands and a comma for decimals.
3. Phone and WhatsApp (optional)
- If you add a phone number, it will appear on vehicle entry tickets.
- If you enable WhatsApp and configure QR printing in AdminParking, users will be able to contact you directly through WhatsApp.
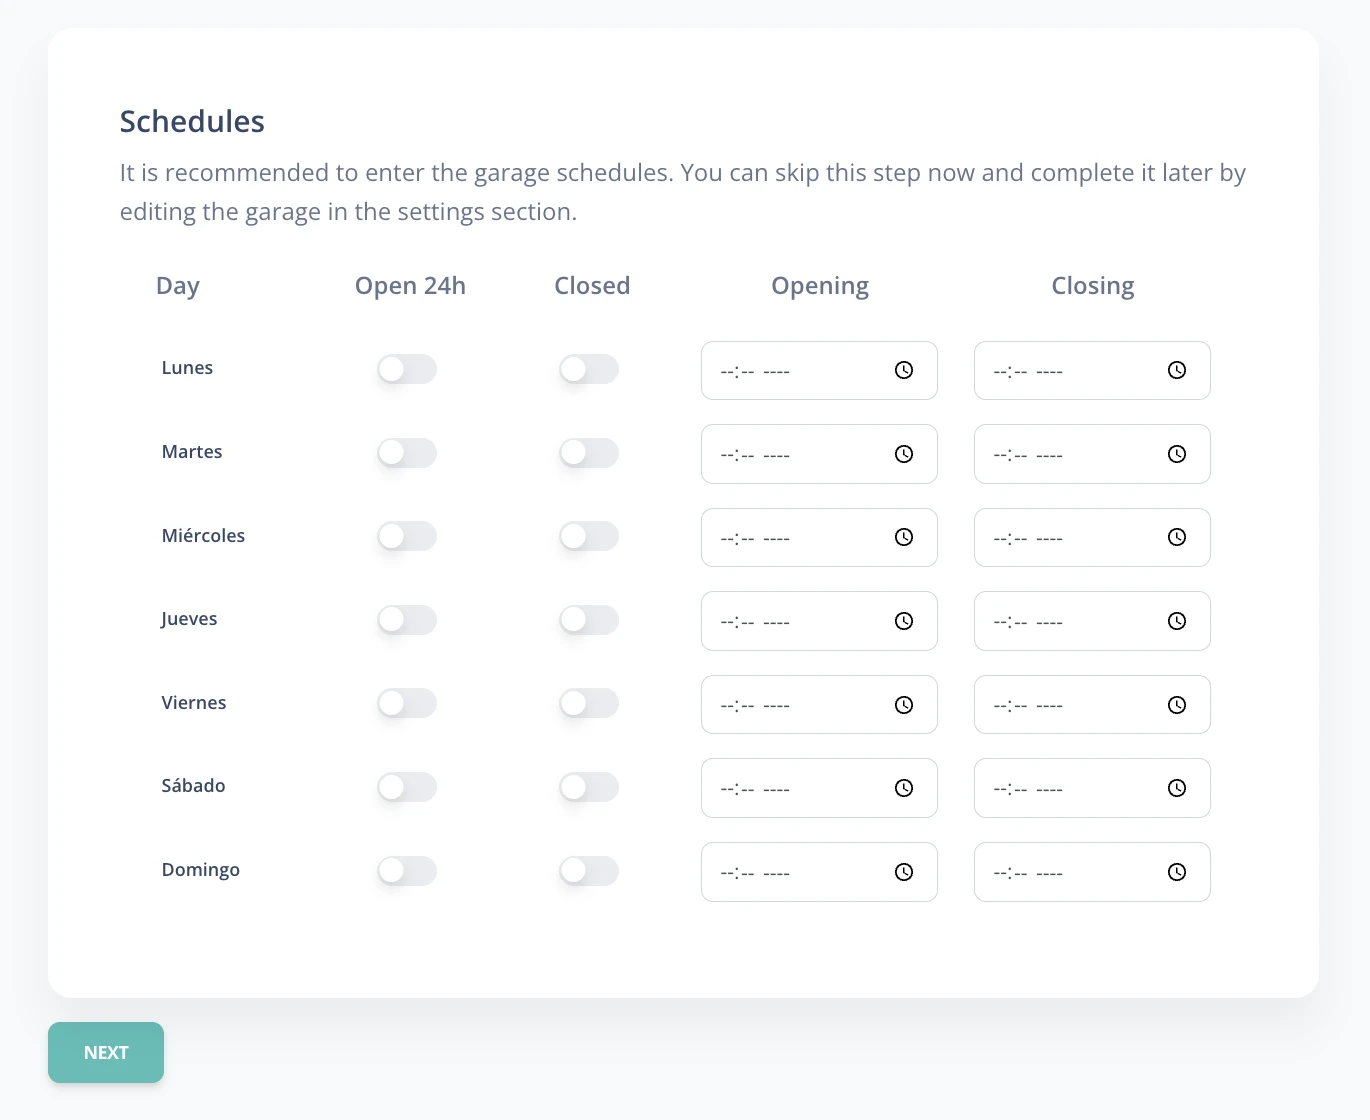
Step 2 - Set garage hours
- Regular hours: Indicate for each day whether it is open 24 hours, closed, or has specific hours.
- Special hours: Define hours for specific days such as holidays. This configuration can also be done later.
Closing times will be shown both on entry tickets and in their online view.
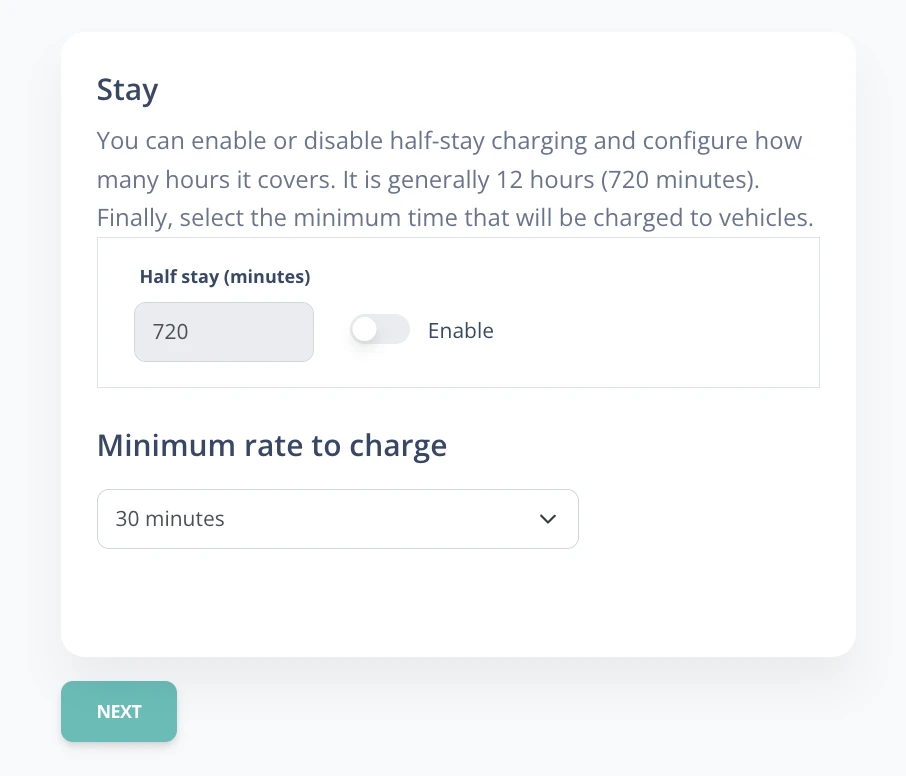
Step 3 - Set stay rules
- Half-stay charge: Define whether half-stay is charged and from how many minutes that rate will apply.
- Minimum rate: Select the minimum rate to charge from the menu. For example, if you set 30 minutes, any vehicle that stayed less than 30 minutes must pay that minimum rate.
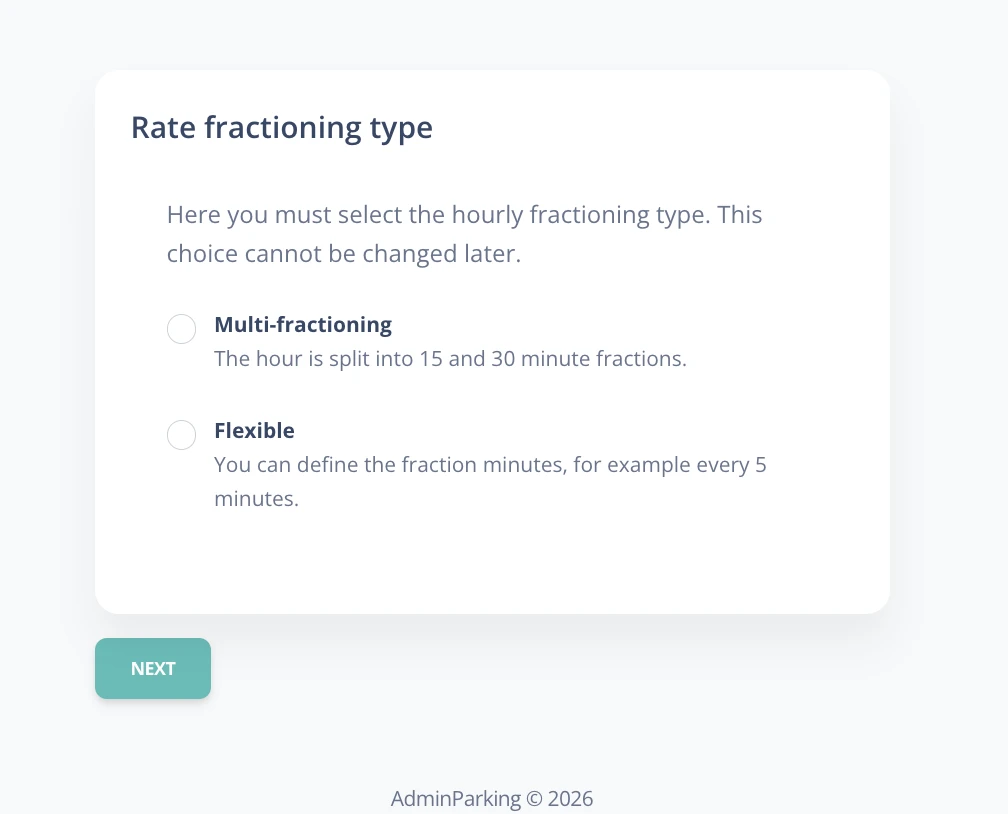
Step 4 - Hour fractioning type
You must choose a rate fractioning type for the garage. This choice cannot be changed later.
- Multi-fraction: 15- and 30-minute segments with specific rates. The hour is divided into 15- and 30-minute segments, allowing you to set specific rates for each segment.
- Flexible: After the minimum rate, each configured fraction is charged (for example, every 10 minutes).
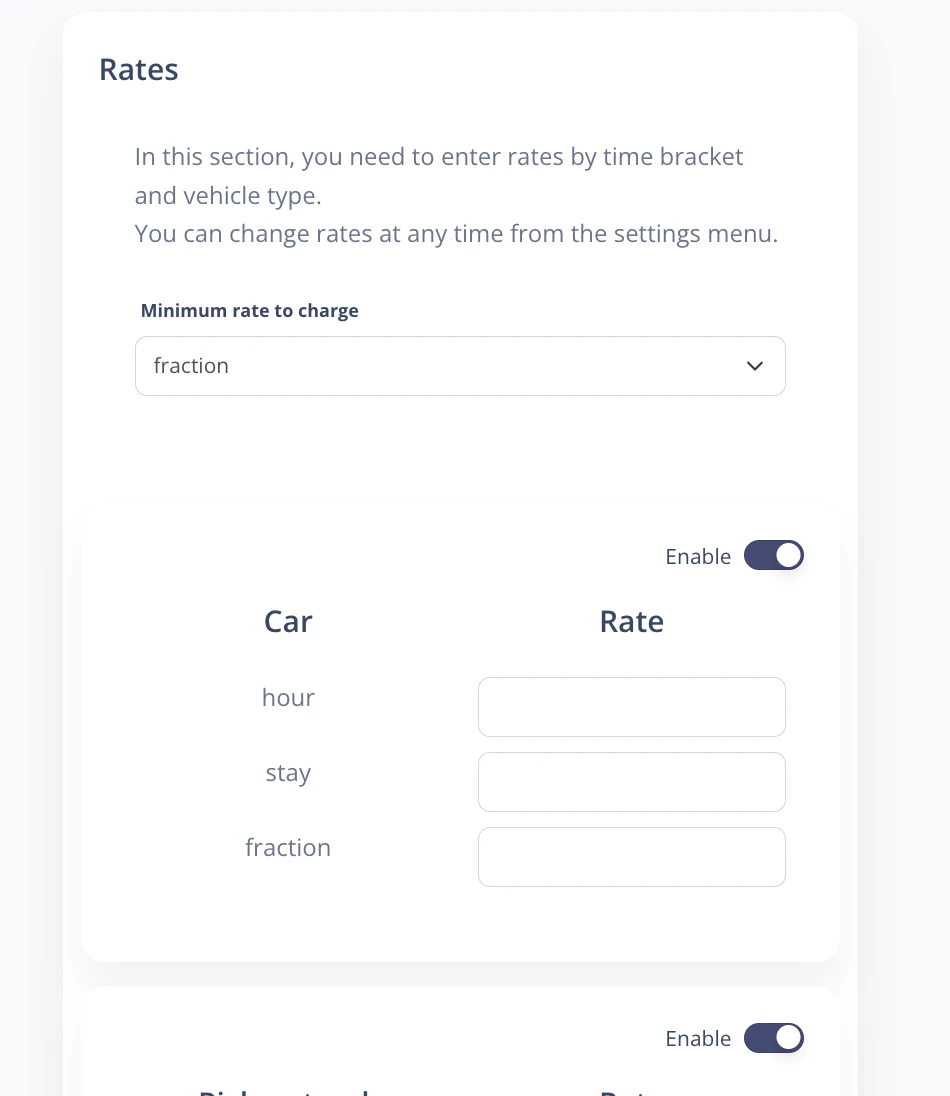
Step 5 - Configure rates
- Vehicle types: Define which vehicles will have differentiated rates.
- Rates by fraction: Define rates by time fraction for each vehicle type. Rates can be modified later, but enabled vehicle types cannot.
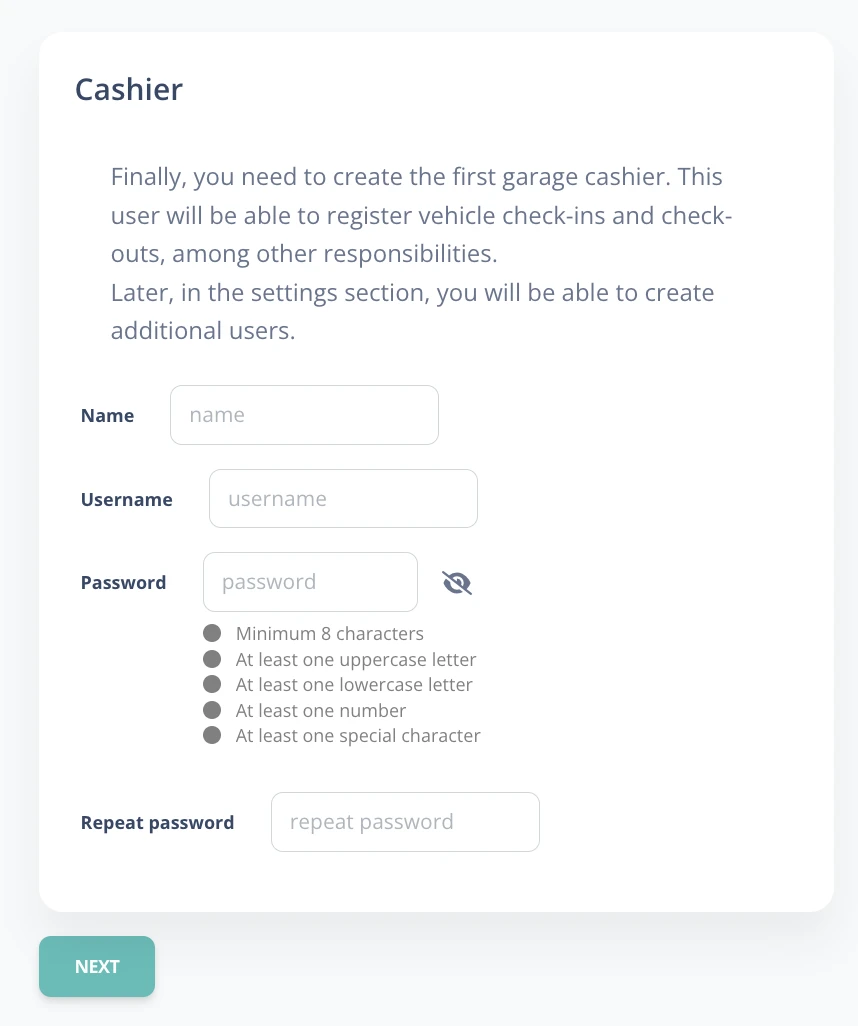
Step 6 - Create cashier user
- This user will manage the garage cash register: vehicle entry and exit, ticket collection, monthly subscription payments, minor expenses, and more.
- This user will not be able to change rates or additional settings.
Step 7 - Finish
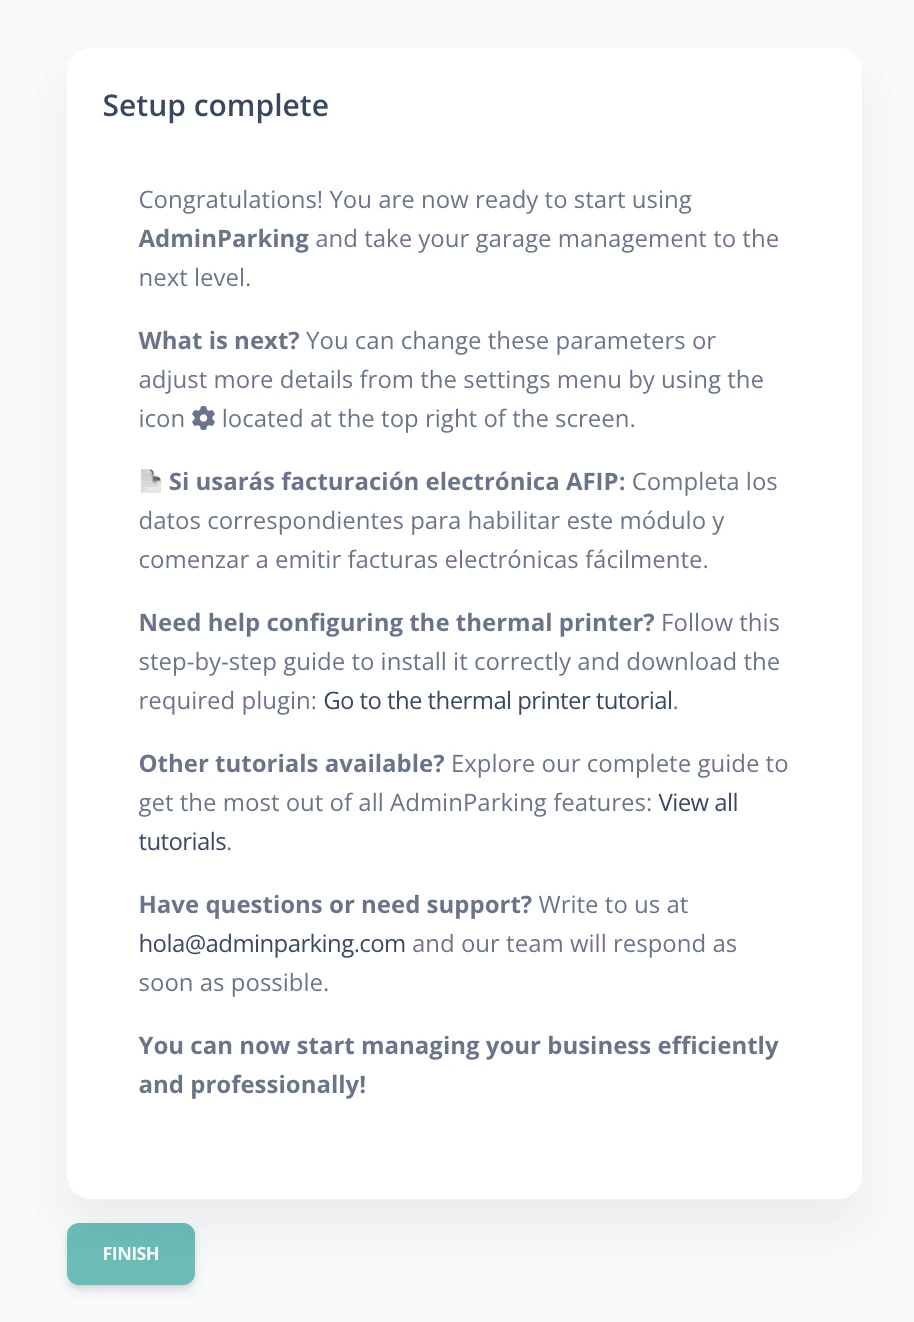
Once all steps are complete, your AdminParking system will be ready to use.