
Thermal printer installation
1) Connect and turn on the printer
Although you can install it with the drivers that came with the printer, one option that always works is installing it as a generic printer. The following screens may vary depending on the Windows version, but the steps are the same.
First, connect the printer to a USB port on the garage computer where tickets will be printed and turn it on.
2) Add printer
In Windows 11 only a few steps change; you can follow them from here.
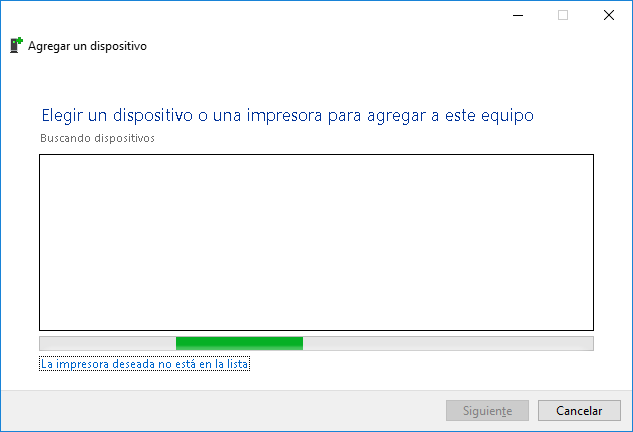
Now go to Control Panel and then Devices and Printers. Select Add a printer. A window like the one below will appear, where you should select The printer that I want is not listed.
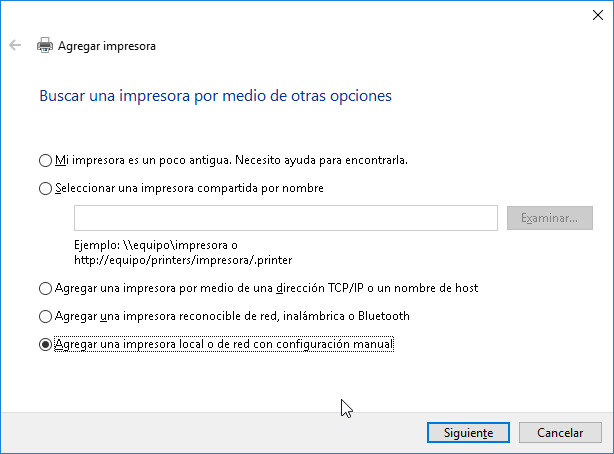
In the next window, select Add a local printer or network printer with manual settings and click Next.
3) Choose the USB port where the printer is connected
Now, for the port, choose USB followed by a number. If you have more devices, you may need to try them one by one; otherwise, select the only one available.
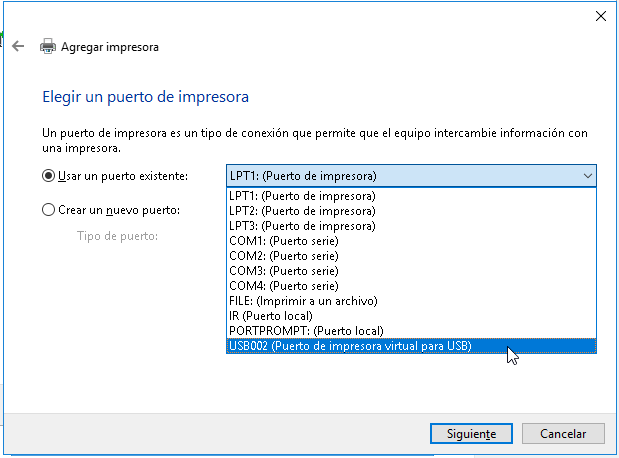
After selecting the port, click Next.
4) Generic driver
On the next screen you will see a list of drivers. Look for Generic and, on the right, select Generic Text Only. Finally, click Next.

5) Assign a name
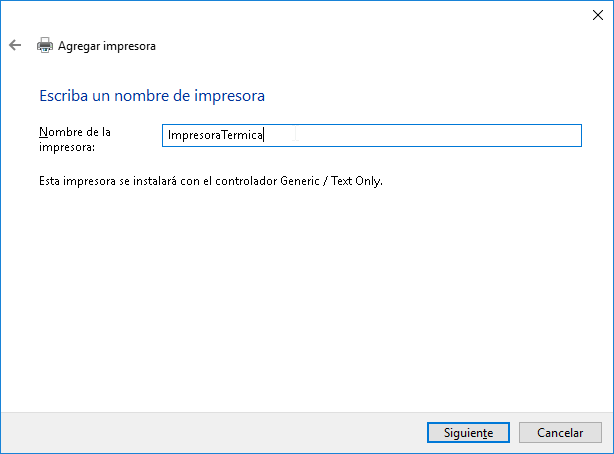
Now it asks for the name. We recommend not using spaces or special characters. By default, the ideal name is ImpresoraTermica. If you choose another name, you can later enter it in the garage settings in AdminParking.
After assigning the name, click Next.
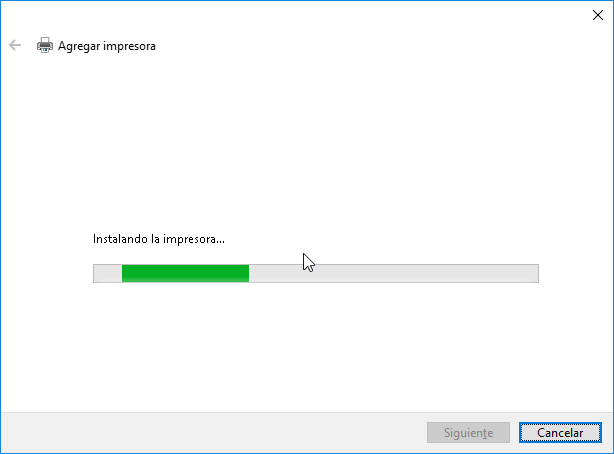
Now wait a moment while it installs.
6) Print a test page
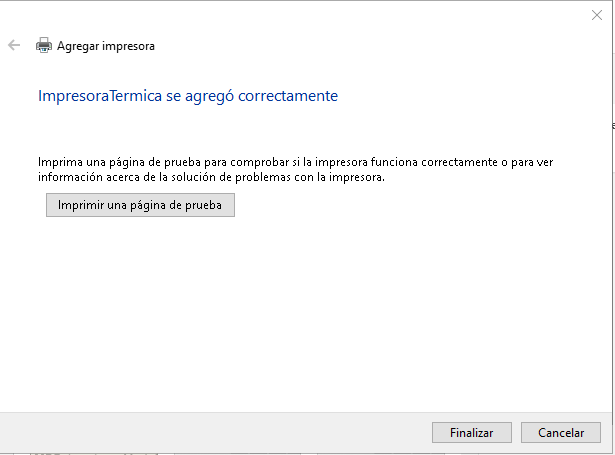
When it finishes, it will show this. Click Print a test page to check whether the installation worked.
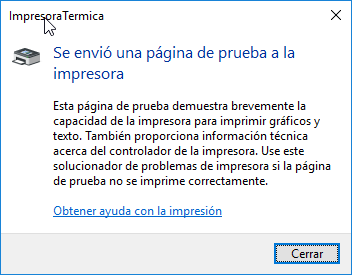
Here it tells us the page has already been sent:
7) Share printer
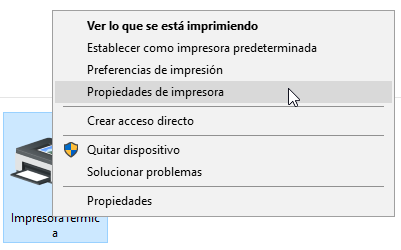
Once installed, go to Control Panel and then Devices and Printers. There, right-click the installed printer and select Printer properties.
Go to the Sharing tab and click Change sharing options if the Share this printer option is disabled.
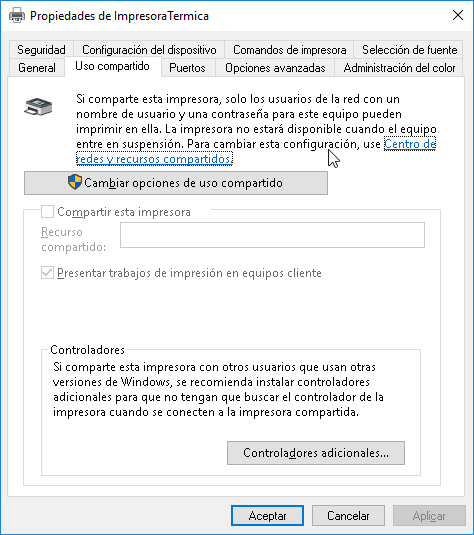
After clicking, the option will be enabled. Select it and then enter the printer name in the text field, preferably impresoraTermica.
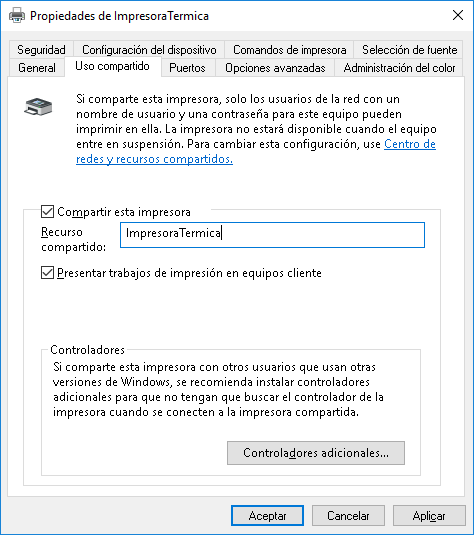
Finally, click OK and the installation is complete.
8) Download plugin
To print from AdminParking, you need to download a plugin. In this link you will find the steps to follow.